Kodak Ultra F9 VS The Ilford Sprite II – Review And Comparison
I’ve reviewed a lot of cameras, so I thought I’d review two new cameras to see how they compare to one another.
The Kodak Ultra F9 and the Ilford Sprite II are very similar cameras with the same body and lens. The main differences between the Ultra F9 and Ilford Sprite are their aesthetics, packaging and price.
In this article, I show comparison photos of these cameras, give you some tips to get the best possible shots and explain how to use these cameras!

The links below are paid links, if you choose to buy something via these links, I get a small cut. This helps me to continue writing helpful articles for you guys!
Specs
| Ultra F9 | Sprite II | |
| Shutter Speed | 1/120s | 1/120s |
| Aperture | F9 | F9 |
| Focus Range | 1M – ∞ | 1M – ∞ |
| Format | 35mm | 35mm |
| Film Transport | Manual wind and rewind | Manual wind and rewind |
| Flash Reload Time | Built-in Flash Push Switch – 15s recycle | Built-in Flash Push Switch – 15s recycle |
| Lens | 31mm | 31mm |
| Price | £38 | £44 |
There is virtually no difference between the Ultra F9 and Ilford Sprite. The only real differences are the price and aesthetics but I still thought I may as well put them head to head to see what the results were, that way you can see if there are any differences.
Also, I had a problem with the Ilford sprite that I’ll go into a little later.
How Do They Compare?
I made a video where I compare the Ultra F9 and the Ilford Sprite II, so if you want to watch it rather than read it, you can check it out here!
Aesthetics and Packaging
One of the biggest differences between these two cameras is the aesthetic difference. Personally, I prefer the colourways of the Ultra F9 and I thought the packaging was higher quality than the Ilford Sprites was.
The Ultra F9 came in what felt like a sort of iPhone box, so it does feel like a higher-quality product. But I must stress, these are the same camera in every single way other than looks and brand.
Pictures


The main difference between the two shots above is that one is a ‘First Off The Roll’ shot, so we can’t take much from the comparison. I genuinely really like the Ultra F9 shot on the right, the super soft focus and pastel sky feel really nice to me.


I think the key difference between the two pictures above is the slight difference in distance from the subject. Once again, I actually really like the Ultra F9 shot on the right. This kind of picture is something I look for when the sky is a certain kind of way, if you use flash on a subject with a sunset in the background it can look amazing.


I think the photos above show more clearly how these are exactly the same camera. It’s like that office meme “they’re the same picture”. There’s no difference, both have soft focus and the exposure is exactly the same.


I don’t have any more exact comparison photos, so here are some more shots from the rest of the roll on the Ultra F9. I think the pictures are nice, similar in quality to a disposable camera but with the added bonus that it’s cheaper, better for the environment and you can choose what kind of film to put into it. The same goes for the Ilford Sprite


Pricing
There’s a slight difference in pricing and that depends on where you look. Generally, the difference is about £4/£5, which isn’t really enough to be significant. So I’d say the decider is purely aesthetic, if you prefer one of these cameras then just get the one that you like the look of!
But there is just one thing…
A small problem
I came across a small problem while shooting the Ilford Sprite II, for the entire time I used it there was a problem with the winding on of the film. Now, in complete honesty, I don’t believe that this would be a problem across all Ilford Sprites, I think I just got a faulty one. However, this didn’t leave me with a great impression of it.
Of course, as far as I can see, the Ilford Sprite and the Kodak Ultra F9 are the same cameras, so I believe that this was just a fault with this particular camera. I still found that the film was still winding on despite it feeling weird so.
What Film Is Good To Use For These Cameras?

The ideal film to use for the Kodak Ultra F9 and Ilford Sprite II is something like Kodak Ultramax 400 because it’s less expensive than Kodak Portra 400 but it’s the sweet spot so you should always get a well-exposed shot.
Alternatively, if you’re shooting black and white film then I’d suggest Ilford HP5 as this is 400 ISO film and really affordable!
How To Take Good Pictures With These Cameras
These cameras are pretty stupid, you can’t change any settings and the lenses are low quality. So sometimes it can be easy to make basic mistakes and ruin your pictures. That’s why you need to know how to get good pictures with them every time!
Keep People At Arms Length
These cameras can only focus from 1 meter to infinity. So basically, if you are any closer than 1 meter to your subject then your subject will not be in focus!

You have to keep people just a bit further away than arm’s length in order to be sure that you’ll have your subject in focus! Many of us are used to using phone cameras or better-quality digital cameras that can focus closely, so we have to be reminded that these cameras are stupid!
Use Your Flash
Because you can’t adjust the shutter speed or aperture for these cameras, you need to be aware of when to use your flash!

Any time that you’re in ‘low light’ you want to use your flash. Low light is when you’re indoors, it’s dusk or dawn or you find yourself outside in a dimly lit area. You’ll get used to knowing when to use your flash, but it’ll save you from a lot of underexposed shots!
Take Your Time
You need to take your time with these cameras because the shutter speed is only 1/120. This means that there’s a chance that you could take a blurry shot if you’re not taking your time.
Just remember, bring your camera up to take a shot, hold it for a few seconds, and then you can put it back down. If you do this too quickly then you’ll definitely ruin your shot!
Aim For The Middle Of Your Lens
Because the lenses on these cameras aren’t very good, you’ll want to get your subject in the middle of the frame to ensure that they’re in focus. Often low quality cameras have lenses that have really soft focus around the edges, so if you try to keep your subject near the middle then you’ll be more likely to get a sharper shot!
How To Use Them?
Loading Film
Sadly, I’ll just have to describe rather than show as I no longer have these cameras.
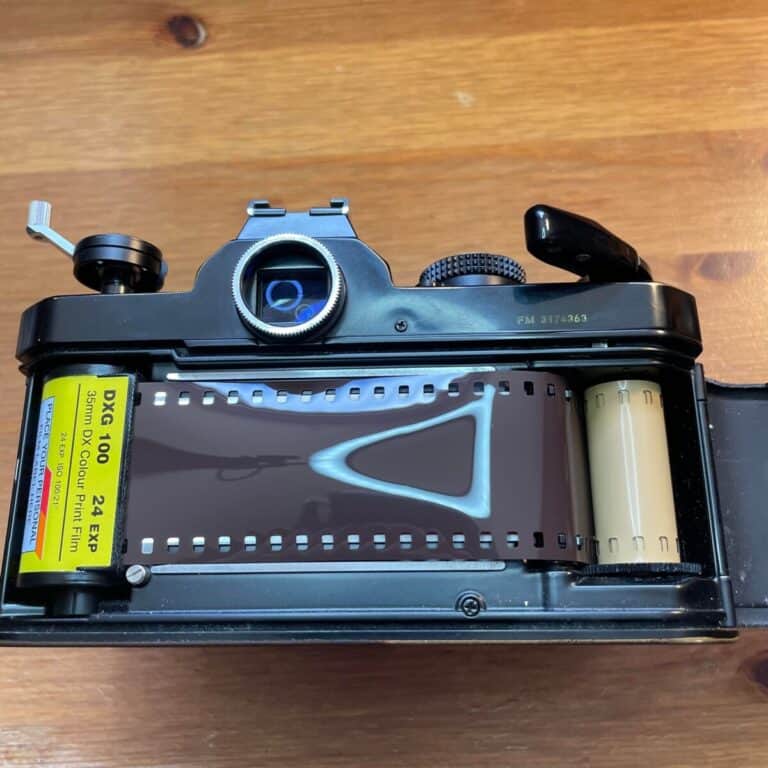
First, you’ll want to open up the back of your camera, there should be a small catch/switch on the side which will make the back pop open. Then once it’s open you’ll see that on one side there is a space and on the other there is a spool.
Simply place the film into the side with the space and then pull the camera film across to the spool. Once you’ve done this then you can attempt to wind it on by using the winder on the top right hand side (you may need to press the shutter button to ensure that it’ll wind on).
Once you can see the film is winding on, then you’re good to go, close the back up and you can start taking pictures!
How To Take A Picture
You simply press the shutter button on the top to take a picture, then once you’ve taken it you can wind the film on and you’ll be good to take another one.
There’s a small switch on the front that you can flick in order to make the flash engage so you’ll be able to use your flash!
When You’ve Finished Your Roll Of Film
When you’ve finished your roll of film you need to unwind it before you open your back up. There may be a small release button on the bottom of the camera that you need to press (I can’t remember). If so, press it and then you can begin winding the film back using the winder on the top left.
Keep winding until it starts to feel noticeably loose and then wind some more for good measure. Then you can open your back up and your film should be wound back into the film cannister!
What Kind Of Photography Are These Cameras Best For?
These cameras are ideal for travel and day to day life. They’re a great alternative to disposable cameras and they’re much more cost effective over time.


If you want that film look but you don’t want to break the bank then these are definitely a good option. Of course, there are other alternatives which you can take a look at here.
Final Word
These cameras are the same camera with slightly different aesthetics. They both have a similar quality to disposable cameras with the added bonus that they’re better for the environment, more cost effective and you can choose what film you want to use!
I wouldn’t use one myself but they’re not the worst option for someone that just wants to take easy film photos!



Leave a Reply